Before you begin
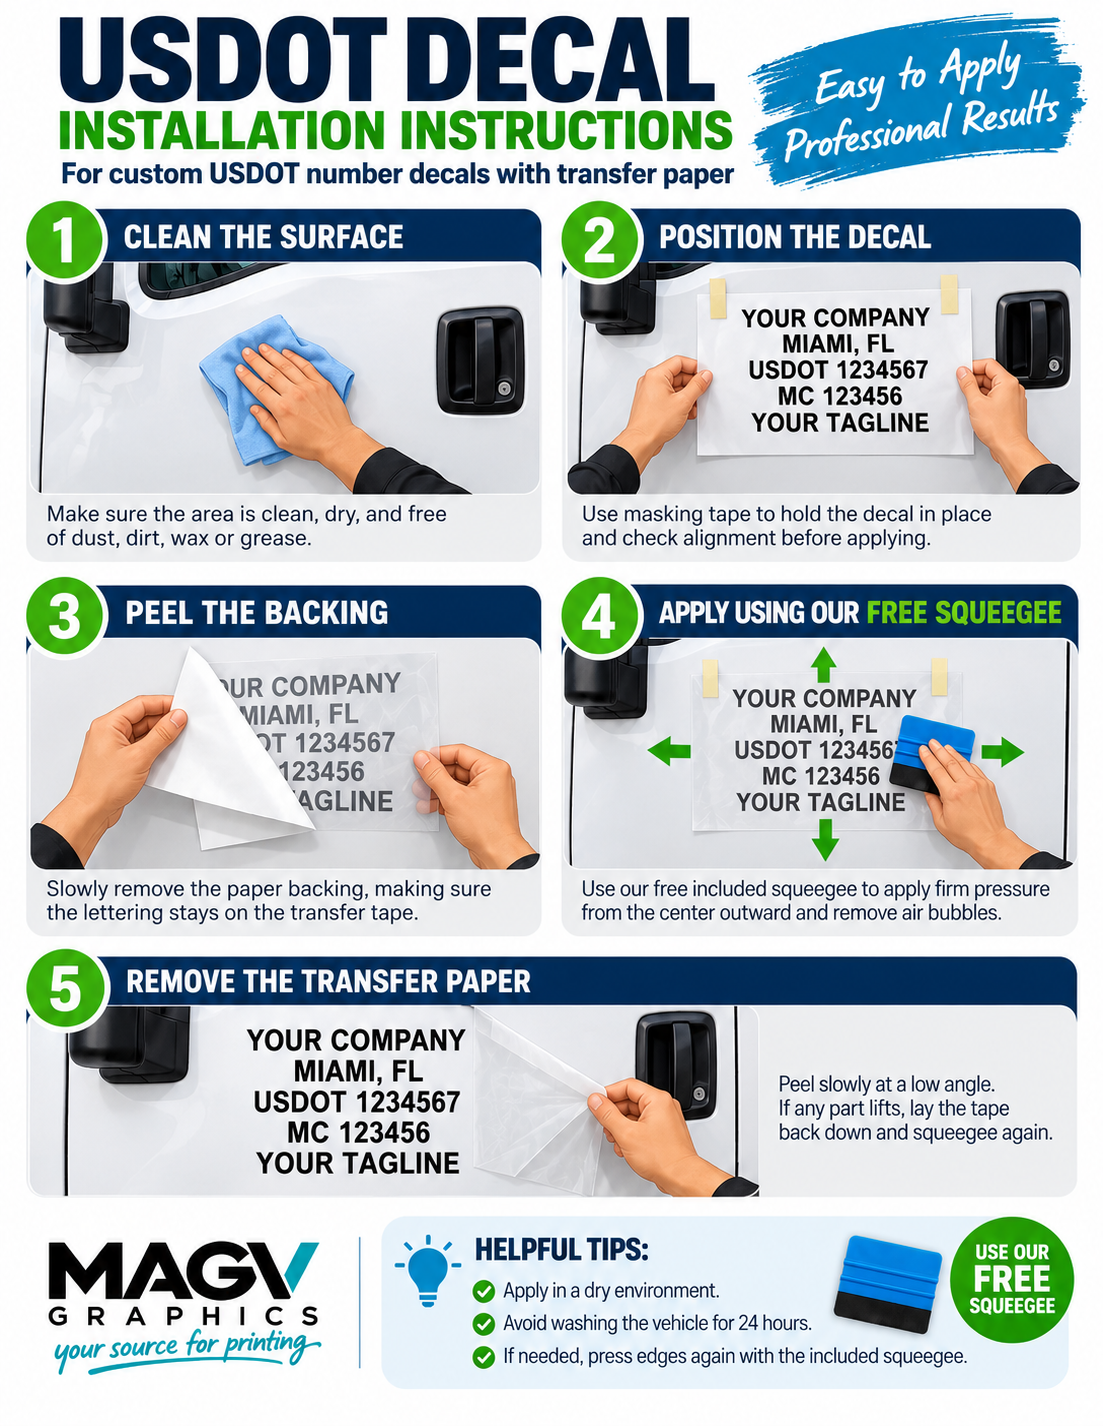
This illustrated method is for cut vinyl decals supplied on transfer tape. It is not an installation method for removable magnetic panels, printed wraps or every window film. Unroll your design, confirm the wording and dimensions, and check the material instructions and surface compatibility before applying.
- Use a clean squeegee and low-tack masking tape.
- Work on a dry surface within the temperature range recommended for the actual film.
- Test any cleaning product on an inconspicuous area first.
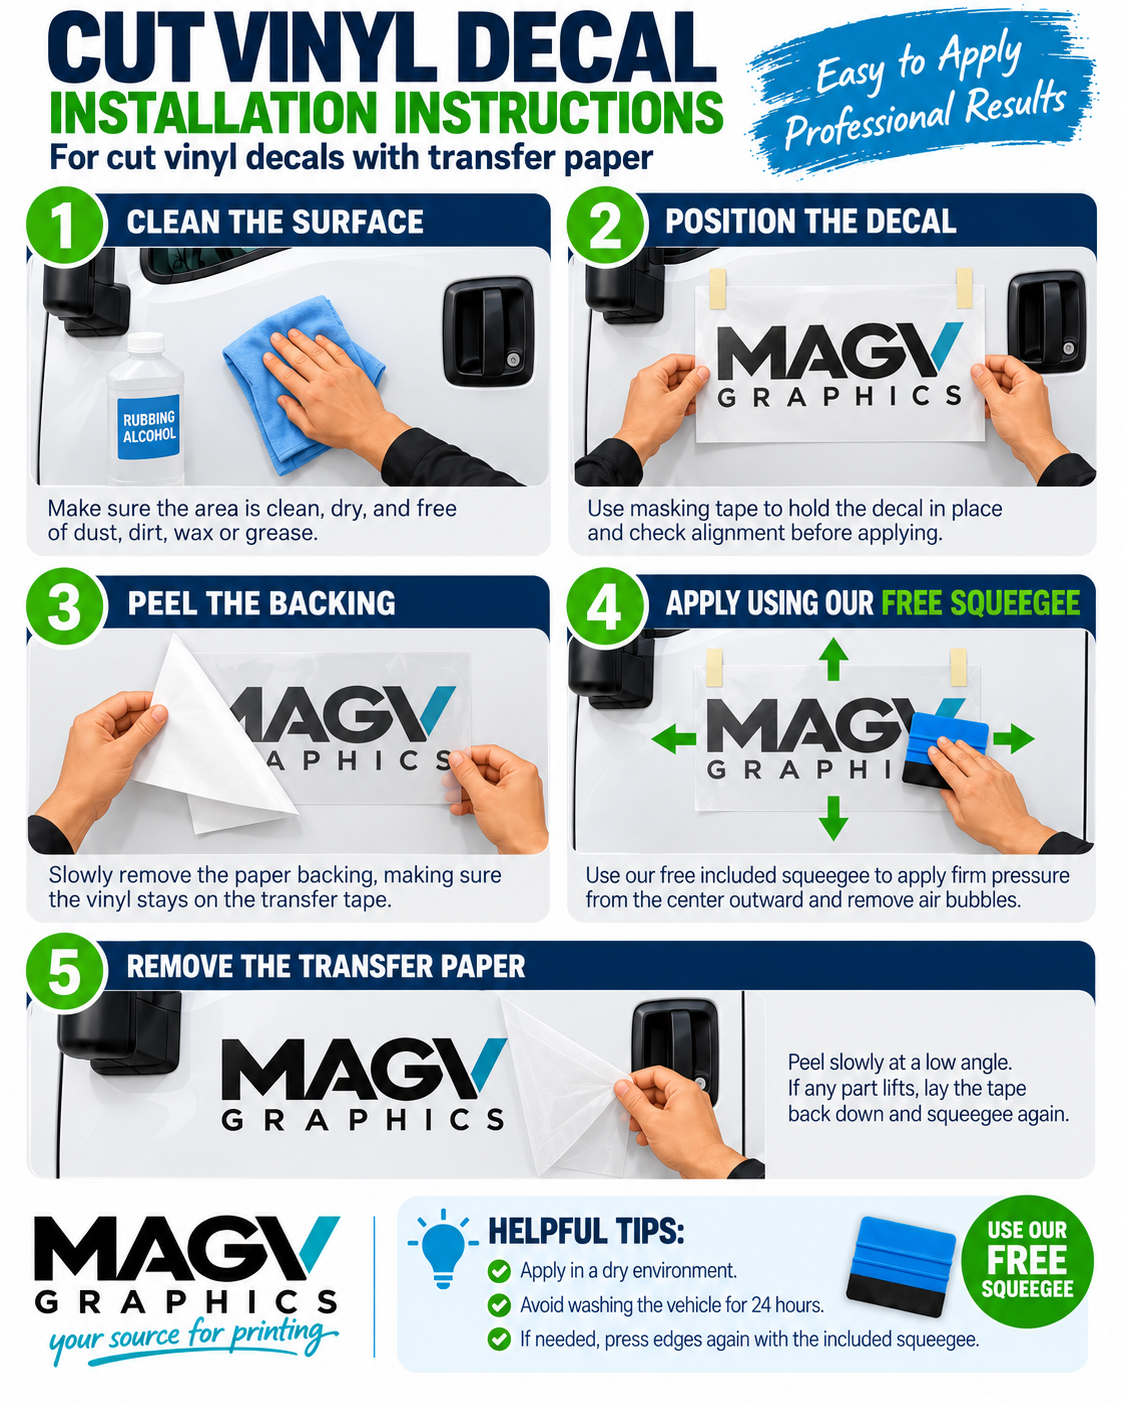
1. Clean and dry the surface
Remove loose dirt, wax and grease, then dry the application area thoroughly. Use a cleaner approved for the vehicle finish or surface. The infographic shows rubbing alcohol, but solvents are not suitable for every coating or film; follow the material and vehicle-finish instructions.
2. Position the decal
Hold the complete design against the surface with the backing still attached. Use masking tape to establish the placement, step back to check alignment and make sure door handles, seams and curves will not interrupt important letters.
3. Peel the backing
Slowly separate the paper liner while keeping the letters on the transfer tape. If a character stays on the liner, lay the layers back down and press over that area before trying again.
4. Apply with a squeegee
Set the vinyl on the surface gradually. Squeegee firmly from the center toward the edges in overlapping strokes so air can escape. Avoid stretching the lettering or trapping a crease. Use the tool supplied with your order if one is included.
5. Remove the transfer tape
Peel the tape back slowly at a low angle. If an edge lifts, lay the tape down and squeegee the area again. Check every letter and edge before moving the vehicle. Follow the selected film’s care and wash instructions rather than assuming one waiting period applies to every material.
MAKE IT YOURS
Products for this project
Need help choosing? Send the location, size, quantity and a photo of the surface.
Request a quote → Ask about installation →Manufacturer references explain their own materials and systems. They do not mean every MAGV product uses that brand or that MAGV holds a manufacturer certification. Confirm the actual specification and current instructions for your order.