Confirm the lettering before applying
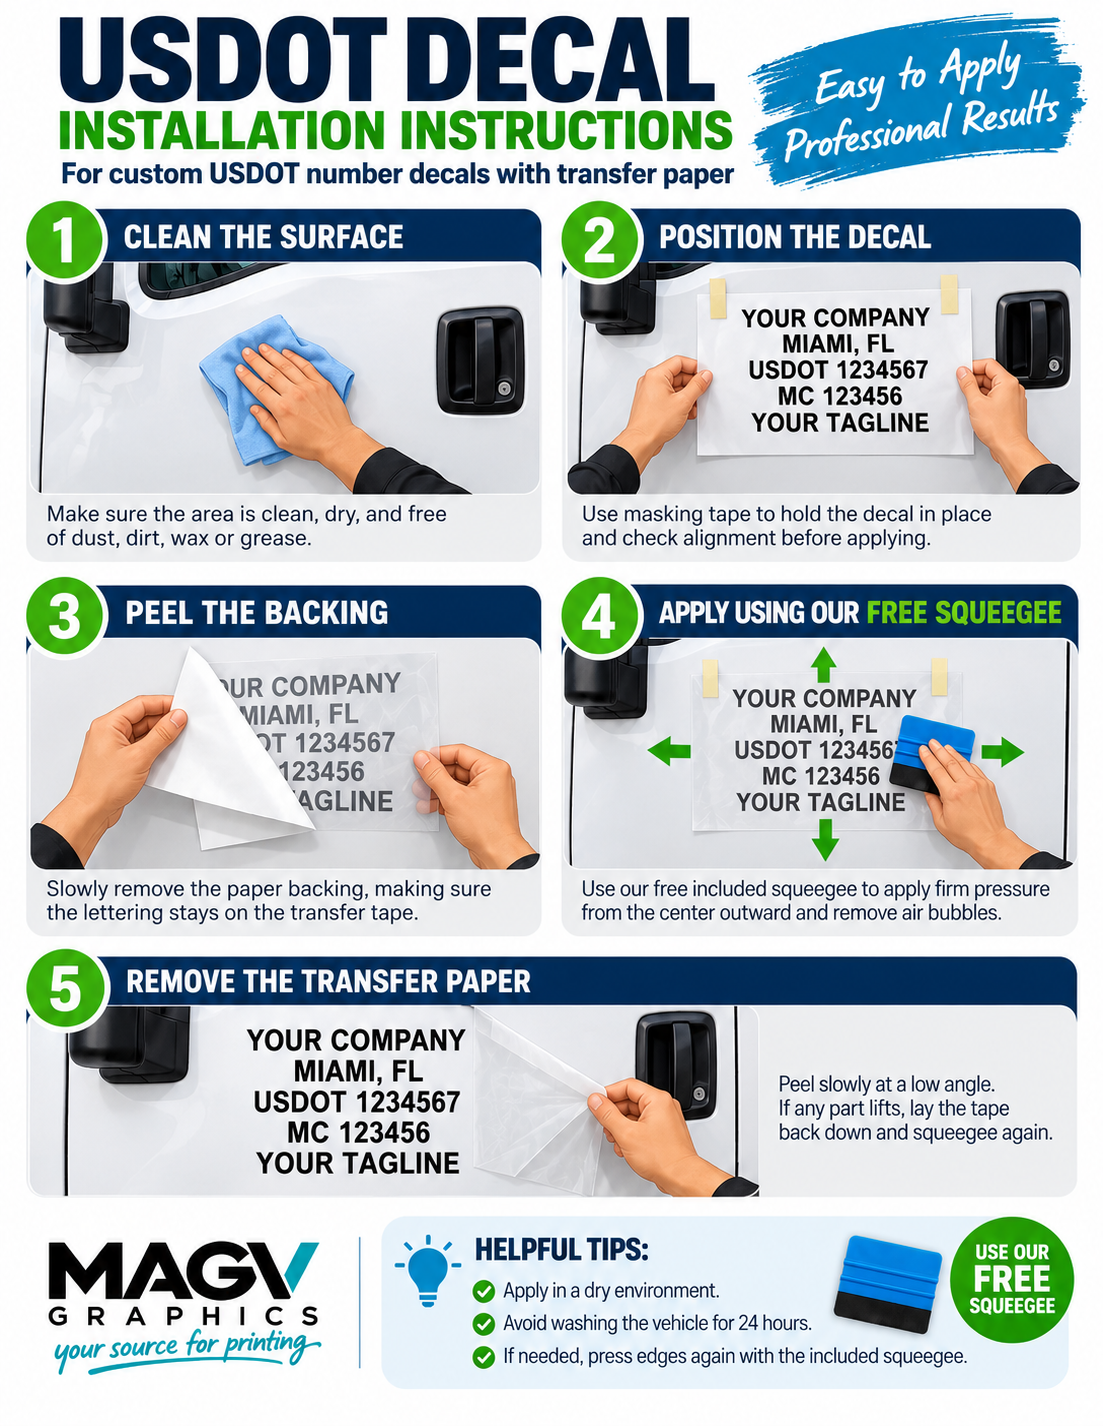
Check the operating carrier’s legal or registered trade name and its USDOT number against current registration records. The infographic uses example wording and numbers. Federal marking rules generally require the name and a number preceded by “USDOT” on both sides of a covered self-propelled commercial vehicle, in high contrast and legible in daylight from 50 feet. Check the current rule and any additional applicable requirements for your operation.
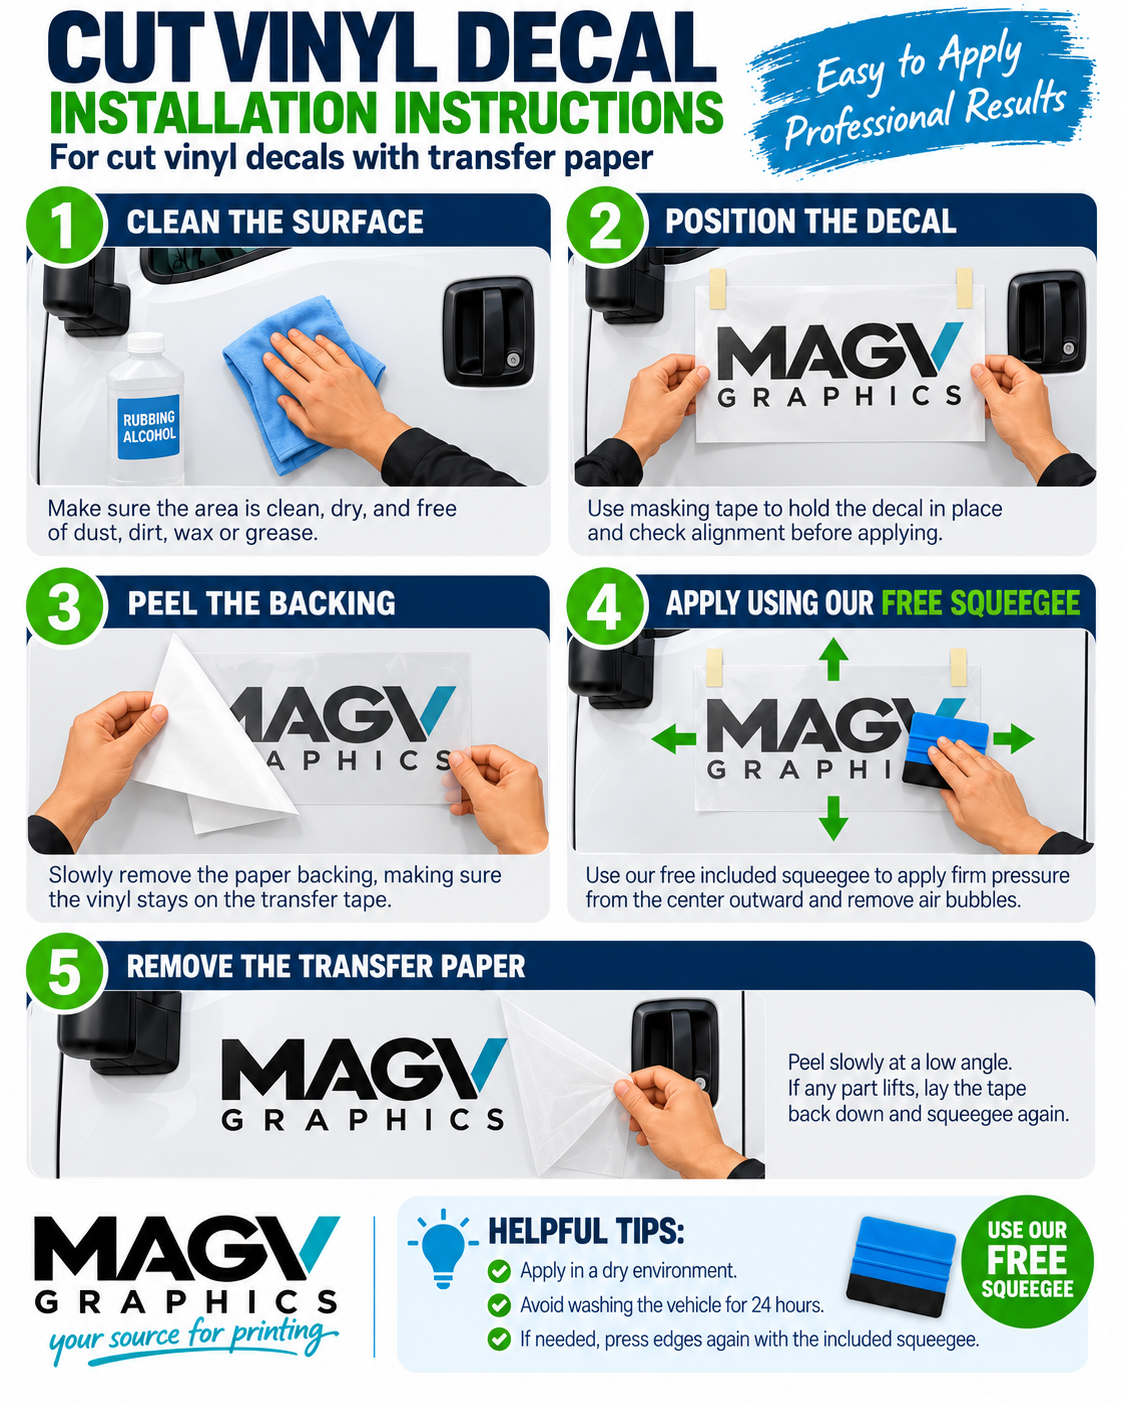
Use this guide for cut vinyl
These steps apply to individual cut-vinyl letters held together by transfer tape. If you ordered a removable magnetic panel, do not peel a backing liner or use this squeegee procedure; follow the magnet’s instructions and check that the vehicle has a suitable flat steel surface.
1. Prepare the truck door
Clean and completely dry the intended area. Remove wax, road film and grease with a cleaner approved for the truck finish. Test solvents before use; the pictured rubbing alcohol is not a universal instruction. Plan placement clear of handles, seams and trim.
2. Align and tape the decal
Hold the complete lettering with its liner still attached and tape it temporarily in place. Check that the name and USDOT number are level, fully visible and comfortably within the door panel.
3. Peel, apply and squeegee
Separate the liner slowly while keeping every character on the transfer tape. Apply the letters progressively, pressing from the center outward with a clean squeegee. If a letter clings to the liner, stop, lay it back down and press it onto the tape before continuing.
4. Lift the transfer tape and inspect
Peel the transfer tape back at a low angle. Re-squeegee any lifting letter, then inspect the full marking from a distance in daylight. Repeat on the other side when required. Follow the vinyl manufacturer’s care and wash timing for the actual material.
MAKE IT YOURS
Products for this project
Need help choosing? Send the location, size, quantity and a photo of the surface.
Request a quote → Ask about installation →Manufacturer references explain their own materials and systems. They do not mean every MAGV product uses that brand or that MAGV holds a manufacturer certification. Confirm the actual specification and current instructions for your order.